|
| * |
Designing a kitchen can be a fun and rewarding experience, however, there's no denying it can also be extremely stressful and it doesn't always go exactly as you'd want. It's such a large part of the home that you want to get it right, it's also a very costly change so it's best to choose something you'll love for a long time and not fall into the trap of a trend and end up regretting it a year down the line.
How to find your style?
Start by browsing the web, books, catalogues, social media as well as any other source you can think of. Collate all of your saved images into a mood board, I used Pinterest as it's a great visual resource which will also suggest other images based on what you've saved. Look for themes - it will become clear what you like and what you want to avoid. I would suggest starting this as soon as you know you're taking on the project, it can take a while to establish your style and it may even change over time. Here's a glimpse of my mood board, it became clear to me early on that I wanted a modern shaker style kitchen with a narrow frame and was drawn to grey/neutral and deep blue:
 |
| Source: Pinterest |
Next, I suggest writing a list of all the things you want your kitchen to include. E.g. 'American style fridge, belfast sink, an island, pull out bin, a larder cupboard, hot water tap...'. This will make it easier when planning what will go where, especially, if using a designer. They can't read your mind so giving them a black and white list of what you'd like will help speed up the process. All I say is unless you have a huge space to work with and an unlimited budget, write down everything you'd like in the dream scenario but don't expect it all to fit - it's likely you will have to compromise in some areas.
Here are some other things to consider:
1. How do you plan to use the space?
Would you rather a closed off kitchen, a room in it's own right; a galley kitchen, or perhaps you'd prefer open plan - this is completely down to personal preference. It was decided from the off that we wanted the kitchen to be the heart of the home so we could cook together, chill there and one day raise a family in the space. High on my list of priorities was a kitchen island, this creates a gathering space to stand around with family and friends, depending on what you put on the island, you can also prepare things whilst facing someone. Now, our kitchen isn't huge so it did take three different kitchen plans to figure out how it would fit, it also involved knocking down walls and redesigning the downstairs of our home. If you budget allows, don't just look at the current kitchen space, look at the floor plan and how it could be changed to suit your needs. Here's a great example of where an island would have been a squeeze, so instead it's been designed to sit a dining table in the centre instead.
 |
| Source: Neptune |
2. Choosing your layout
Your kitchen layout should be all about practicality and not trying to squeeze everything in. Think about how you move around your kitchen and what needs to be close to with reach one of another. The sink, dishwasher and bin should all be within a close distance to one another, they should also be close to where you store your plates/cutlery so it's easy for you to put things away. Traditionally, a sink would sit in front of the window due to drainage; however, of course this isn't essential. It's common to see sinks sitting in the island - however, if you tend to leave your washing up this may not be suited to you. Using a kitchen designer will reduce the chance of you making mistakes and ending up with a kitchen that doesn't function correctly - of course you can do this yourself but make sure you do your research.
 |
| Source: Pinterest |
3. Lighting
Kitchen lighting is important, natural lighting is a plus but in the dark of winter and evenings you will need suitable lighting for the space. It's best to know your kitchen plan before creating lighting plan otherwise it's possible you could end up with a spotlight above a unit or shining down on it partly, if you're going with spotlights it's best to have them over the area you'll be walking. Task lighting such as under counter will be useful when prepping food etc. as you could be blocking the main light. If you have an island, it's a lovely feature to have one of more pendants, an alternative is adjustable down lights which you can point in the direction of a focal point.
 |
| Source: Pinterest |
4. The Logistics
This might sound obvious but you need to think about the logistics of your kitchen layout. As much as you might like to have a sink on wall A, it might not be possible to put in a water source and drainage there, on the other hand it may be possible yet costly. Similarly with electric, if you're starting fresh with wiring and chasing out wall you can (mostly) put sockets where you wish; however, if you're just changing the cosmetic look of the kitchen, you might want to keep them where they are.
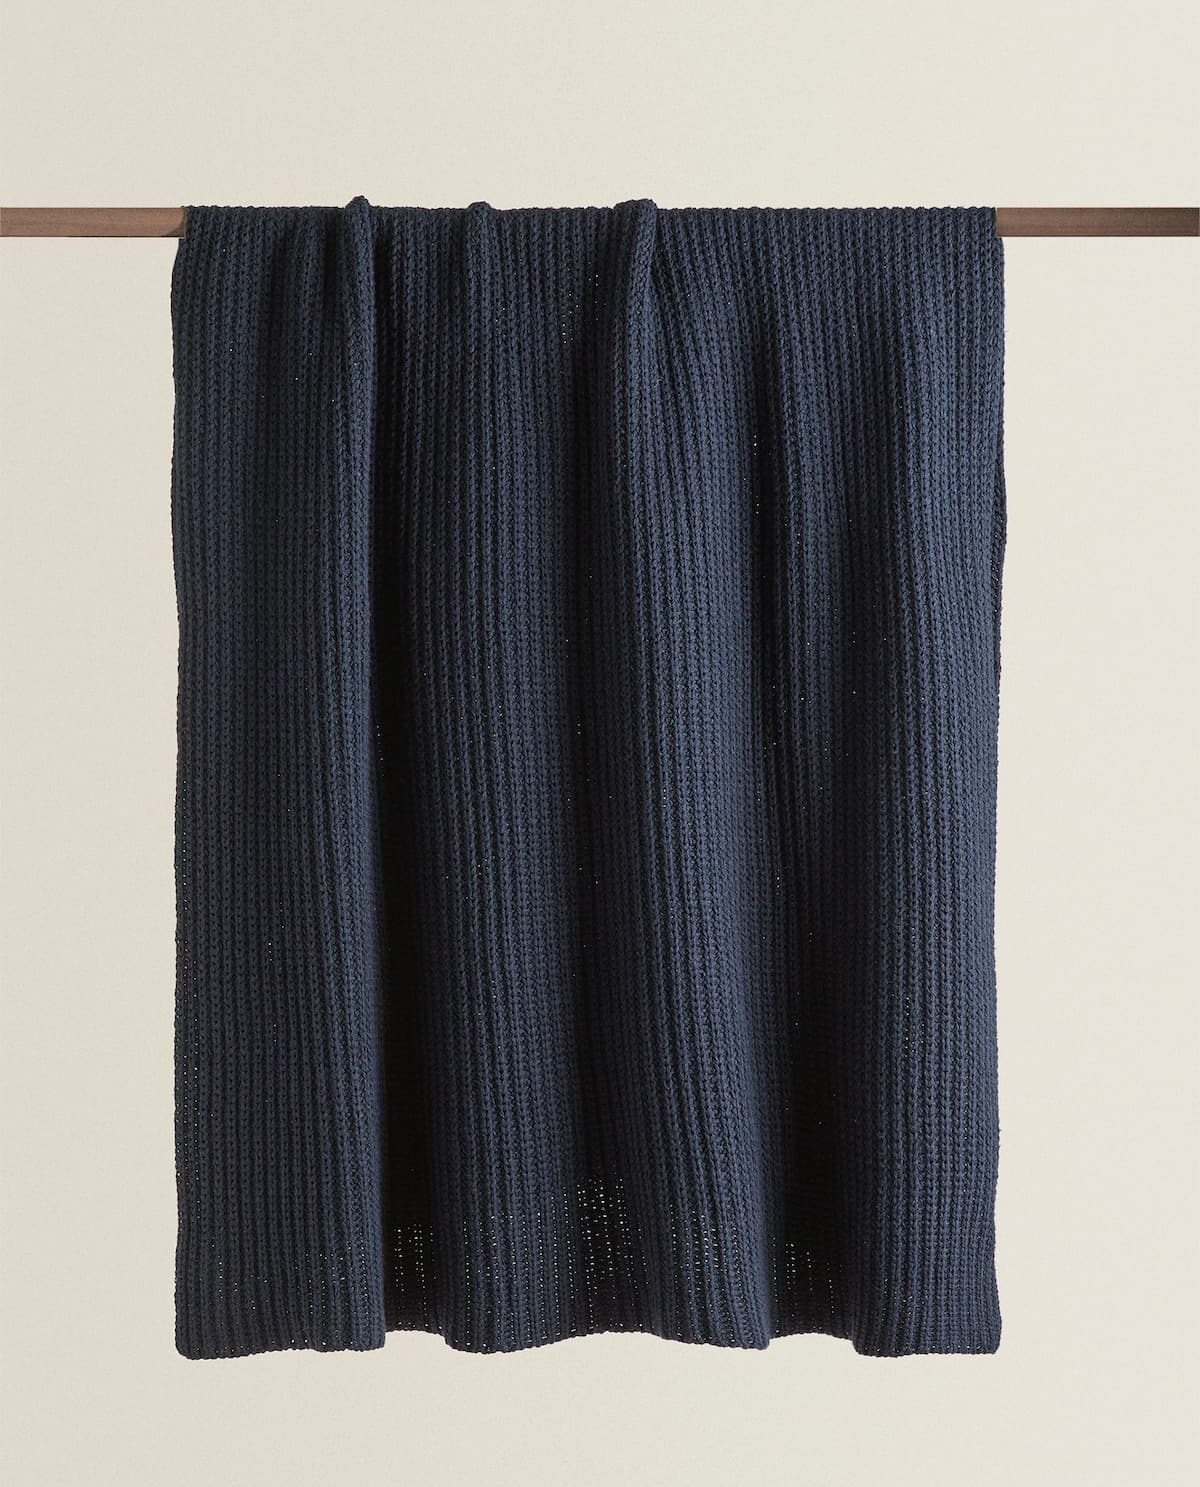
5. Colour
A complete personal preference. Just be aware that a dark colour will draw the kitchen in towards you, making the space seem smaller (ideal if you want it to be more cosy), whereas a light colour will push the space back and give the appearance it is bigger. I've also learnt that having a dark island is less forgiving, marks are more apparent.
 |
| Source: Pinterest |
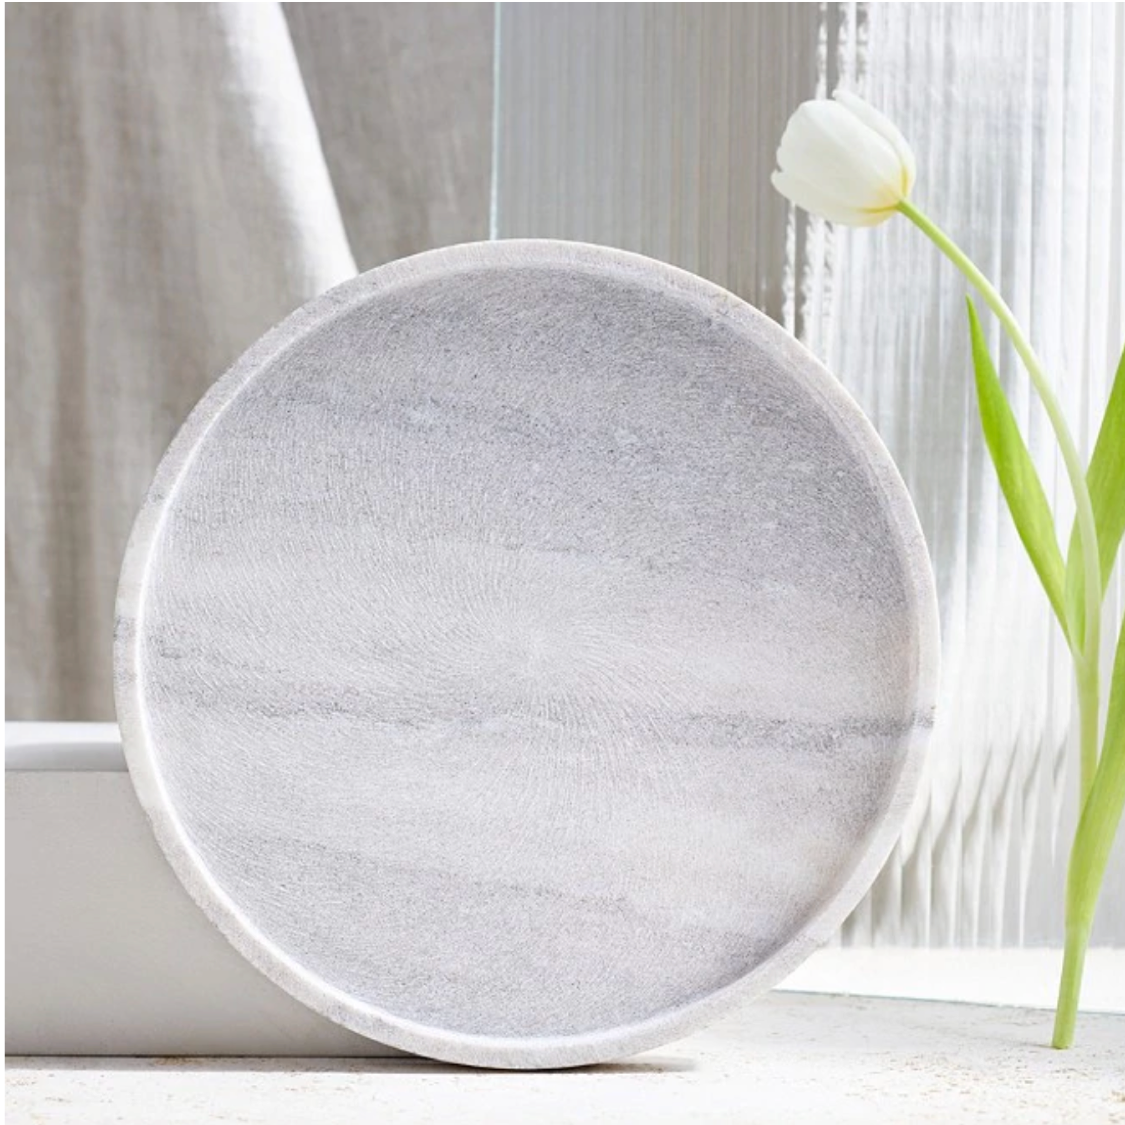
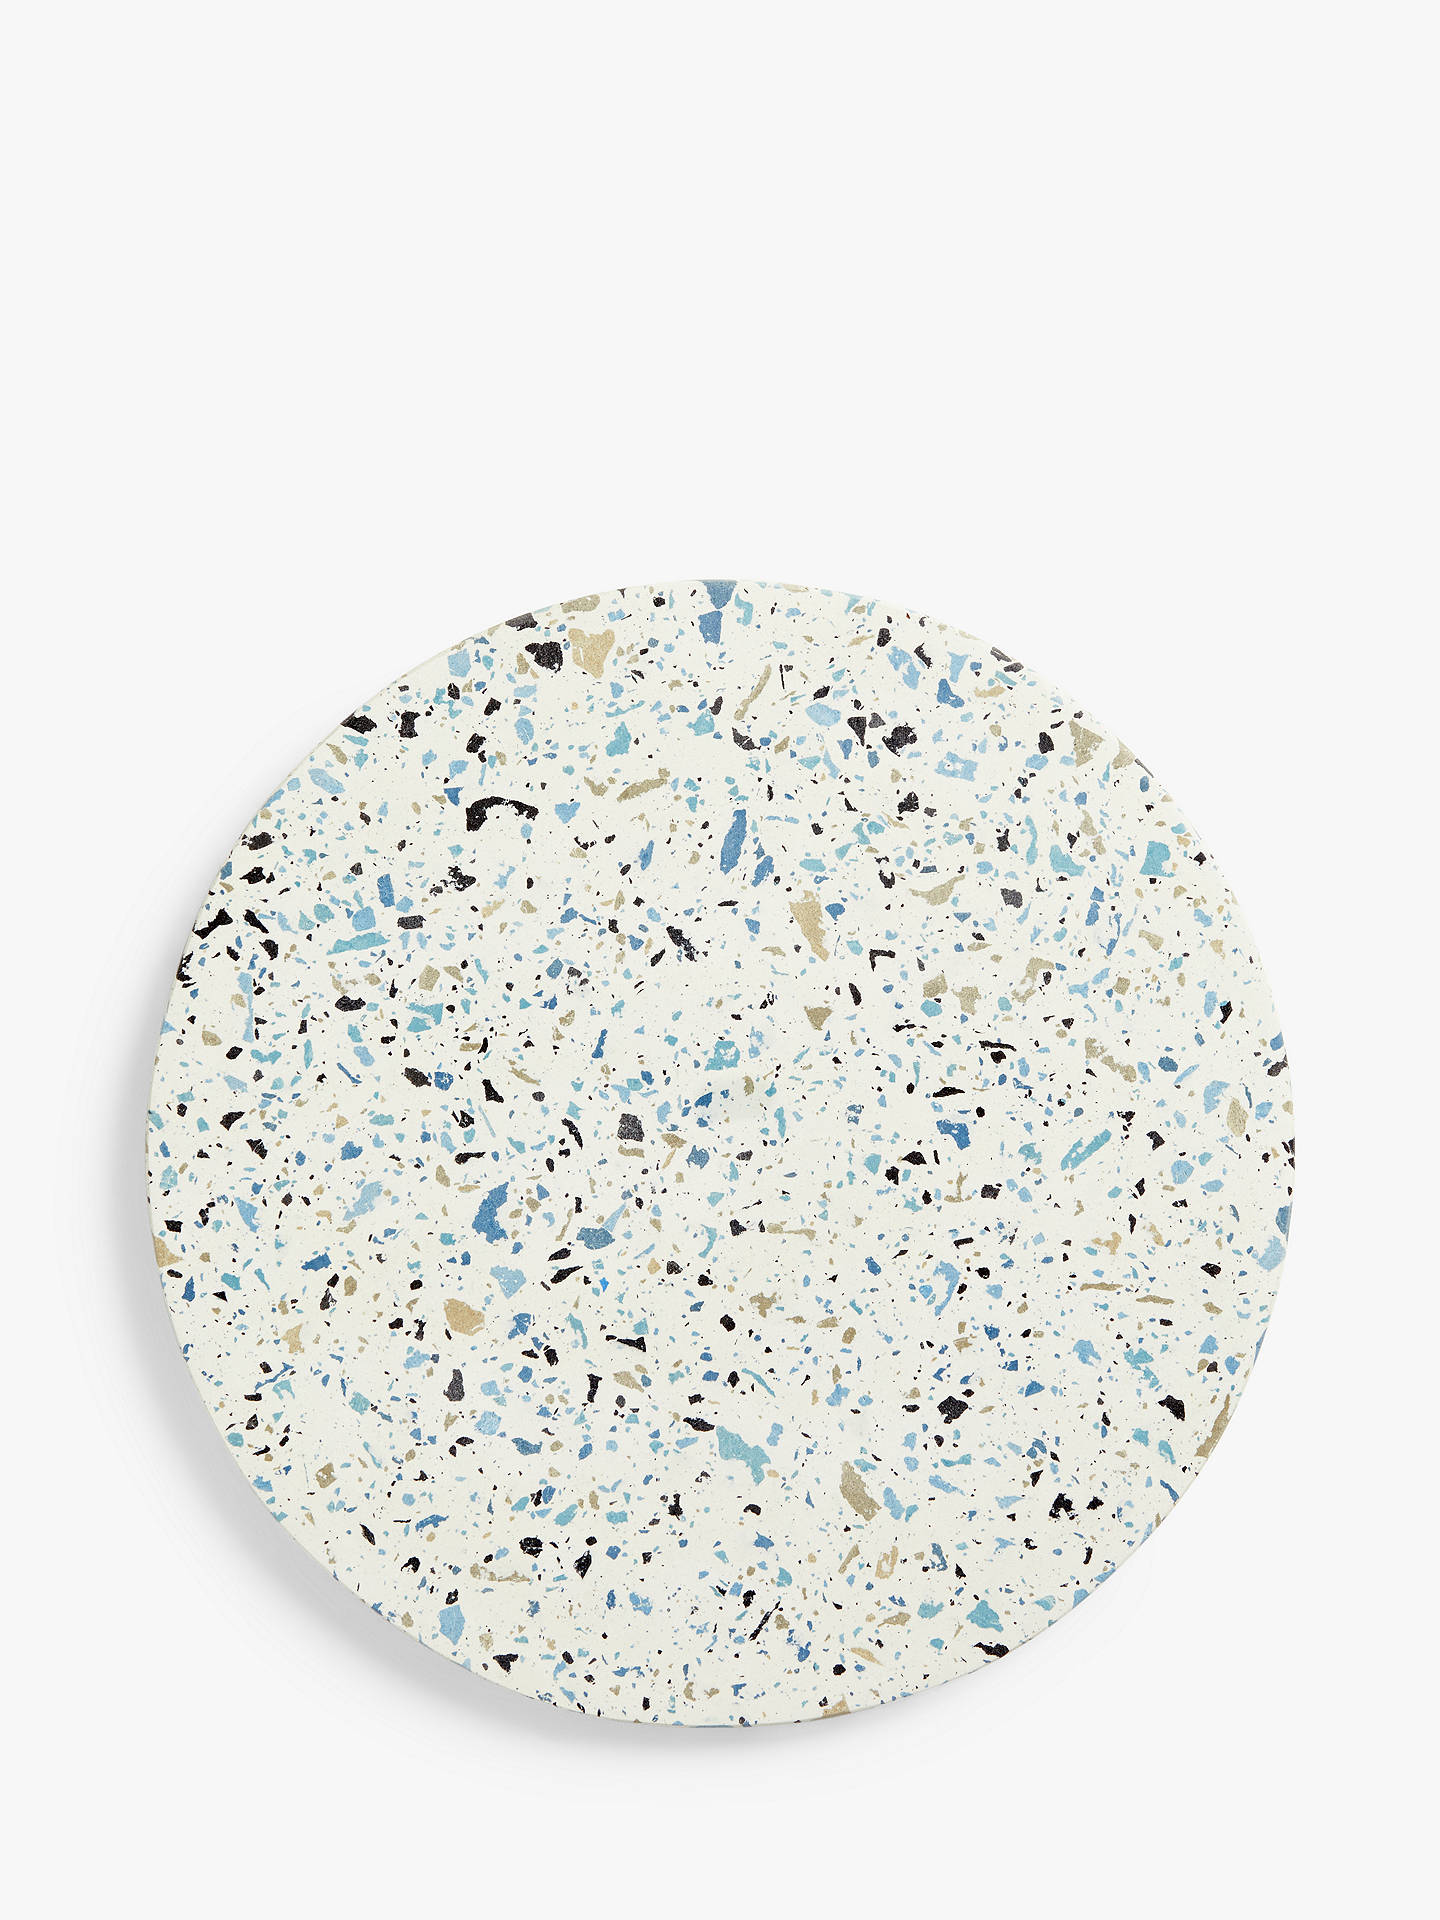
6.
Accessorising
Jewellery for your home. Again, this is completely down to personal preference but choosing the correct hardware can make or break the look of your kitchen. Spend time on this and order samples, the position of your hardware will also make a difference to the look of your kitchen.
 |
| Source: Lamborn Studio/Pinterest |
Thank you for reading and good luck with your kitchen project!
AHJ
*Feature Image Source: www.laurennelsondesign.com