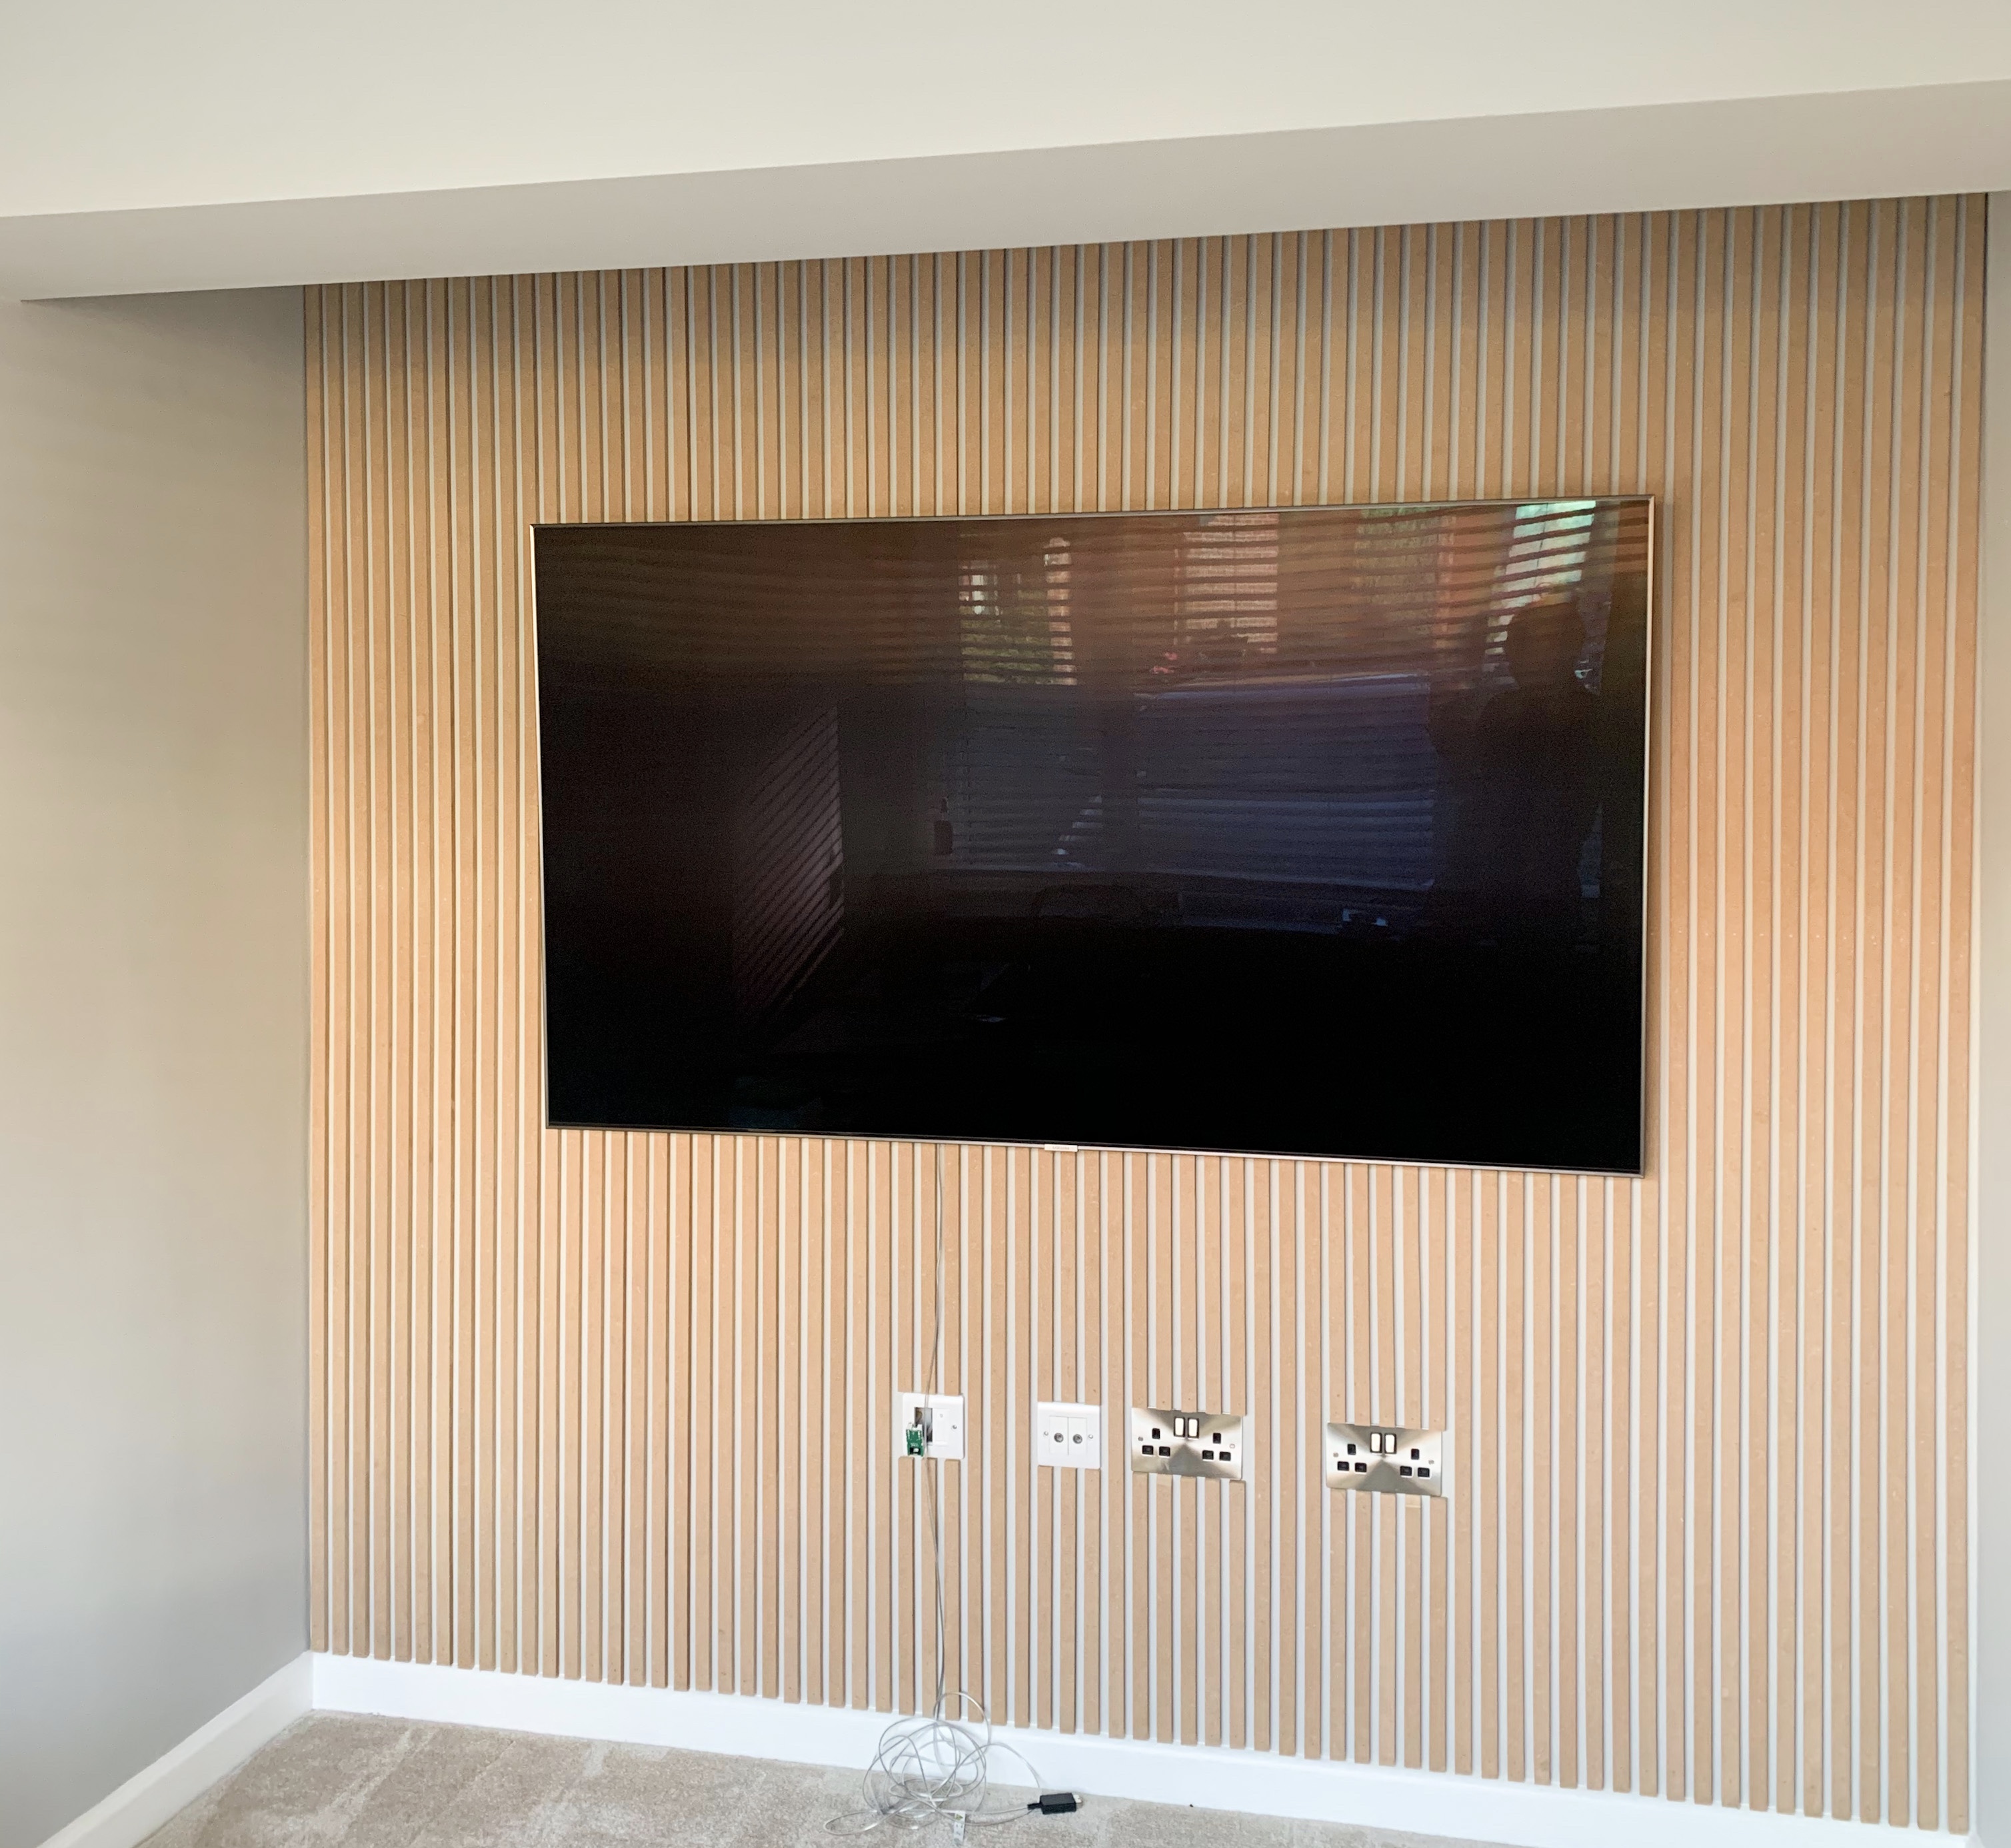
If you want to know how we did it, you're in the right place...
What we used:
- 2 x 12mm MDF sheets (cut into 20mm wide strips)
- No More Nails
- Titan electric nail gun
- Mitre box with saw
- Tape measure
- Spirit level
- Hammer
- Wood filler
- Sand paper
The biggest challenge we faced was finding a company that would cut the MDF board into 20mm wide strips. There are multiple companies online that will cut and deliver to your door, however, the minimum for most of these is 50mm. We used a local Timber company and it cost us less that £50. This is the perfect solution if you're looking to make a big impact with a small budget.
1. Find your starting point
The wall pending a makeover wasn't perfectly square so we chose to start in the middle and work our way out. If it was a large wall we would have started at one end but as we're going to be sitting quite close to it, we thought it best to start central. As this is also our TV wall we measured where the TV bracket sits so we could avoid that area.
2. Start sticking
Once we'd measured our first central strip we applied some No More Nails and stuck it to the wall using a spirit level to check it was straight. Applying pressure we then also secured each piece with a couple of 25mm pin nails to stop it moving whilst the glue dried. I should mention that this is a stud wall, we used short nails as we only wanted them to enter into the plasterboard with no damage to the cables behind.
3. Keep going, for hours...
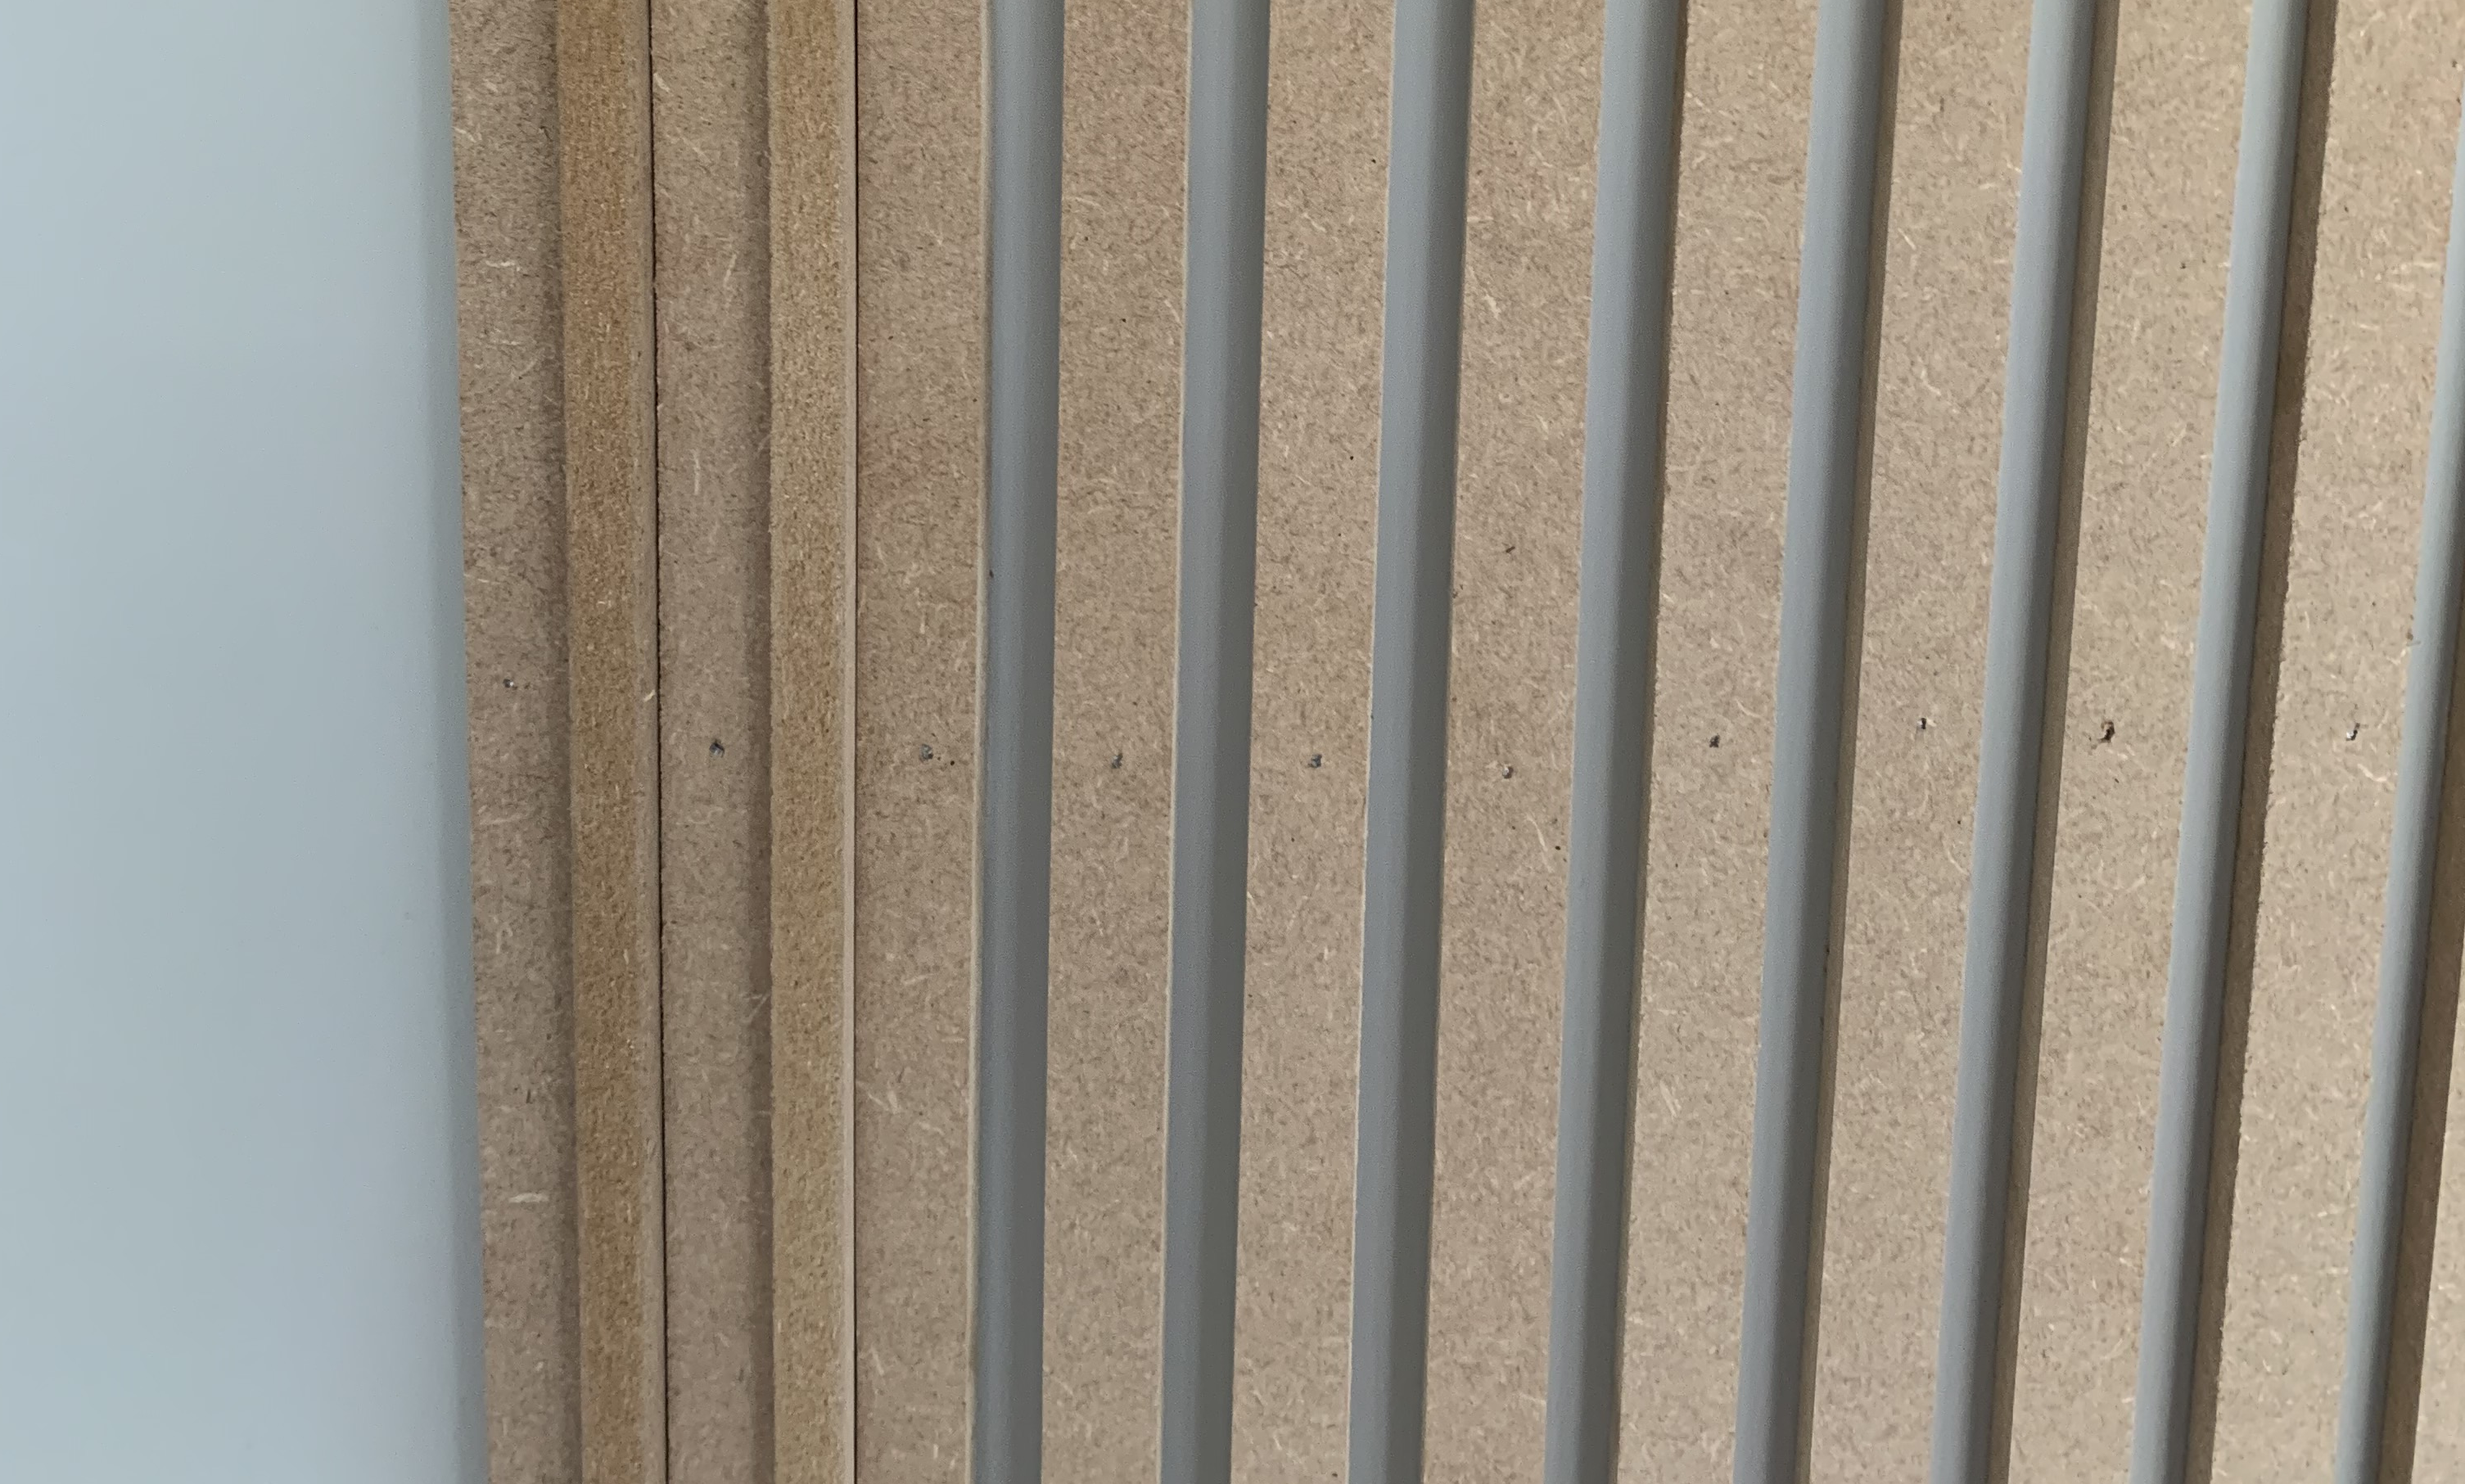
We used off-cuts as a spacer to apply each piece. Our gaps are 12mm so we used the depth of a strip to space each piece evenly. I'd recommend checking with a spirit level each time too - the strips are quite flimsy and can bend out of place. Continue like this until all the strips are on.
4. Finishing steps
I then used a hammer to knock in any of the nails that were protruding before applying a small amount of wood filler with my finger. Wait for the filler to dry and then sand away!
That's it! All in all, this cost us around £50 and took 8 hours to do.
I hope you find this post useful and if you try it please tag me at ahomejournal - I'd love to see!


No comments